Strawberries are one of the most prolific and easygoing fruit crops you can grow. These low-growing herbaceous plants thrive as perennials in zones 3-11 and reliably overwinter when properly cared for.
However, they can often look a little dead at the end of the season as their foliage dies back in preparation for dormancy. Tidying up your strawberry beds ensures that the crop remains attractive, disease-free, and protected from upcoming frosts.
Let’s dig into five quick steps to tidy fall strawberry beds, ensuring healthy and abundant growth next season.
Felco 2 Classic Hand Pruner

The FELCO 2 is the standard-bearer of our brand’s core values of quality, reliability and durability worldwide since 1948. Exemplary design makes them flexible for all types of pruning by professional and amateur users alike.
5 Steps to Tidy Fall Strawberry Beds

Strawberries are herbaceous crops that can look a little alarming in the fall. Your plants may appear brown, black, withered, and dead-looking.
However, it’s important to remember that herbaceous plants are defined by their soft leaves and stems that die back in harsh cold weather. These plants don’t have woody tissue like trees and shrubs. Instead, the crop releases its above-ground parts so it can overwinter underground using its root storage as fuel.
With this lifecycle in mind, it’s easy to assess the fall cleanup needs of your berry beds. Grab your pruners, rake, and mulch to tidy things up in preparation for winter.
Cut Back Dead Foliage

Contrary to many initial beliefs, brown, dying foliage is not actually a sign of dead strawberry plants. This crop naturally dies back to the ground when the weather cools. If you haven’t had your first fall frost yet, your plants may have a blend of living and dying leaves. Rest assured that this is completely normal. Pruning back the withered foliage encourages each plant to funnel its energy down into the roots to prepare for dormancy.
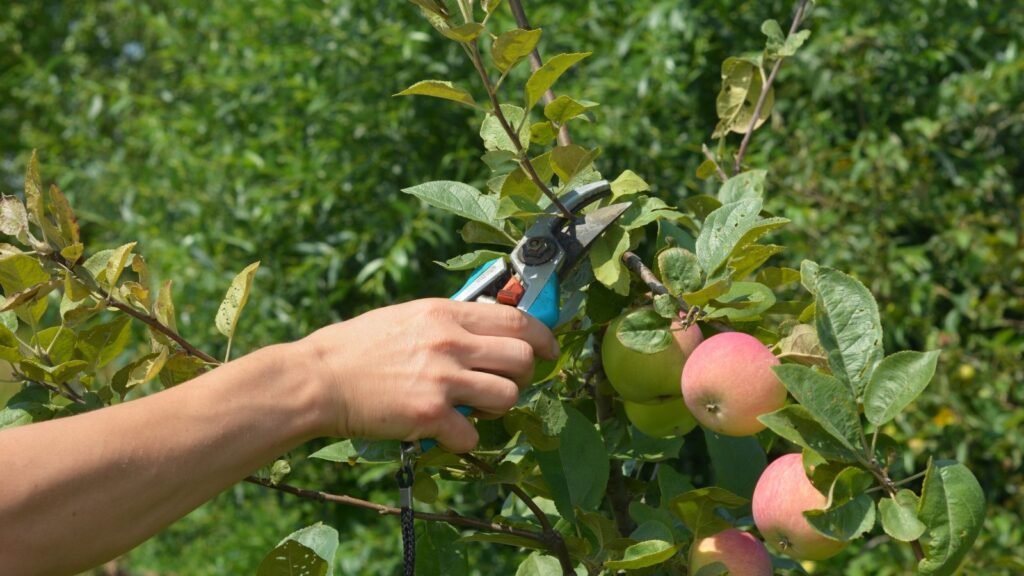
Use sharp, sanitized pruners to cut back all foliage to the ground level. Sanitization is crucial with fall strawberries because many fungal diseases readily spread in the cooler, moist weather. Invisible spores can fly between plants and travel on your pruners to neighboring crops. It’s helpful to carry a spray bottle of diluted bleach (1 cap full bleach to 2-3 cups of water) to keep things clean.
Protect the Crowns

When pruning, be sure to only cut back the foliage that is above the soil level. Avoid cutting into the crown of the plant. The crown is the harder, woodier portion of the plant where energy stores are kept and growth initiates. Cutting into the crown can damage or kill the strawberry. Instead, focus removing on softened, withered leaves and stems laying on top of the bed surface.
Gather and Remove Diseased Residues

While some crops benefit from the “chop and drop” method—which leaves prunings in place—I always make sure to thoroughly tidy up my strawberry beds in the fall so that no residues are left behind. Withered foliage creates a breeding ground for overwintering pests and disease. It also looks unsightly and messy.
Use a rake or your hands to gather these residues and take them to your compost pile. If there are any signs of disease, burn the prunings or throw them in the trash. Your bed should appear fairly barren, with just the twigs of the crowns peeking up above the soil surface.
Mulch With Straw or Leaves

Once all withered foliage is pruned away, it’s time to insulate the crowns for a cozy winter. Straw or leaf mulch are ideal for the job. If using straw, ensure that it is seed-free and clean of any harmful herbicide residues. GardenStraw is a reliable brand that is easy to disperse over the bed without worrying about weed seeds or chemical contamination.
Fallen deciduous leaves or leaf compost are another excellent option for mulching strawberries. A layer of broadleaf decaying matter significantly enhances soil health while suppressing weed growth and insulating the crowns from frosty weather.
A two-to-three-inch layer of mulch is best. Use your hands or a rake to spread the material over the soil surface. Your fall strawberry beds will appear tidy, clean, and blanketed in a pretty layer of mulch. Gardeners in colder climates can mulch up to four or five inches deep for added frost protection.
Insulate Containers

Strawberries are one of the best crops for container culture. Whether growing in a hanging basket, pot, or vertical Greenstalk planter, this small fruiting crop thrives in these spaces. However, containers are particularly prone to frost heaves and cold damage because they don’t have as much soil volume as a garden bed. It’s important to insulate containers so the crowns can reliably overwinter.
The first option is to move pots indoors to a garage or shed. It’s OK if the area dips below freezing, but it should ideally stay above 0°F. There is no need for light exposure because potted winter strawberries remain dormant under the surface.
The next option is to wrap your pots in frost blankets or thermal blankets. Move them undercover where they won’t get snowed or rained on. This prevents pots from cracking and expanding, which is particularly important for earthen pots like terra cotta.
Another option is grouping your strawberry containers close together on a patio or porch. Closer-grouped pots result in more thermal mass and warmth.
Regardless of which overwintering option you choose for containers, be sure to follow the same pruning and mulching steps described above. Dormant potted berry plants perform almost the same as those in beds. The only difference is that they need added protection from frost heaves and moisture.
Key Takeaways
Tidy your fall strawberry beds by pruning away dead and diseased foliage, removing residues, adding a two-to-four-inch thick layer of mulch, and insulating containers. These steps will help your crop remain perennial and overwinter. You will know it was a success when new leaves and stems sprout from the crowns in the spring, signaling that flowers and tasty fruits are only a few months away.